DIY: FEATHERS AND FRINGE CLUTCH
Category: DIY
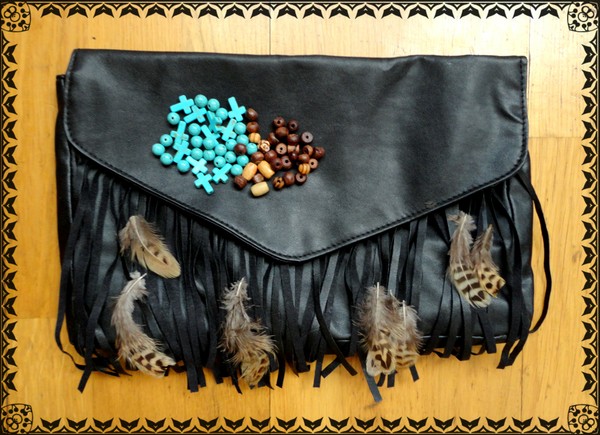
I bought this fringe clutch a while ago with a plan to style it up a bit with feathers and beads. I've finally had some time to finish it and decided to make a DIY - guide. It was really simple and easy to do, so if you have an old bag here is how to "pimp it up".

What I used were feathers that I bought at Panduro, turquoise and wooden beads (from Ebay.com), a thread and scissors.

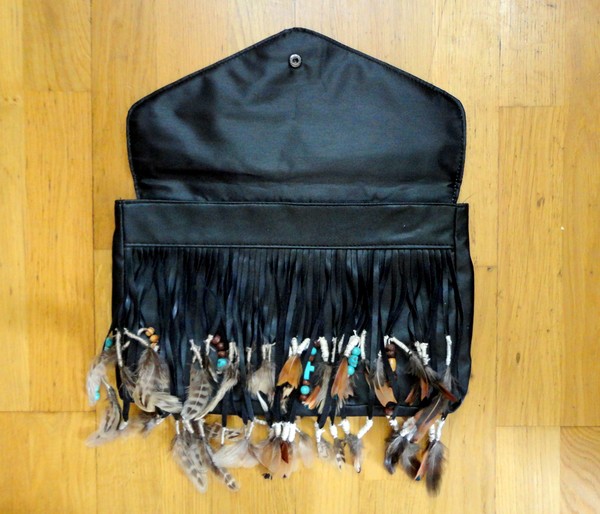
I used the scissors to cut every other fringe piece in half. This in order to give it layering and texture with the feathers. I wanted the feathers to be a dominant element in this bag, and cutting the fringe in half allowed this since the feathers are placed in two layers.

Here is a close up of the clucth. I'm almost done here, but I wanted to show you what I meant with layers and textures, and how I've cut the fringe!

How to tie the feathers. Place the feather beneath the fringe you want to tie it to, decide how much you want the feather to "stick out" from the fringe. Take the thread, leave a long bit above the fringe and start making turns with the thread from the bottom of the fringe (left on the photo). Make the turns until you cover all the feather up.
To decorate with the beads you'll need to leave a longer bit of the thread before cutting it. On that piece, which is now hanging next to the feather (still on the same piece of fringe), thread on the beads you want to and tie a knot. I didn't want to exaggerate with beads, but I thought it would give the complete look to my clutch, so I put some beads at the beginning (left side) and at the end of the clucth (right side).

Here is a close up of how a placed the beads. I used a mix of tirquoise beads, crosses and skulls, as well as wooden beads. I think the match of colors with the feathers and the beads turned out great!
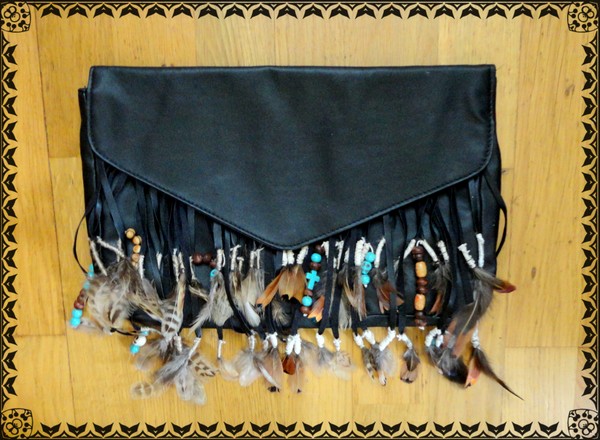
Finally done! Here it is, the final product. I couldn't be more satisfied, my absolute favorite clutch. A breath of bohemian spirit in every outfit!
Hope you like it sweeties!